Maya Character Rigging
12/01/2015 10:16:00 pm
Friday, Monday and Tuesday, we had continue rigging class with Sean to complete all this step. I've never had done any rigging before but I think to put the joint to every part of the body is not quite difficult. It become more harder when it is the time to put the controller setup to this joint.
Here we are separate our Controller in hypershade to add the blend colour and than using the connection editor to chain it together.
we add three new keyable attribute for each finger as shown below to have a smooth movement of finger.
Blend Shape
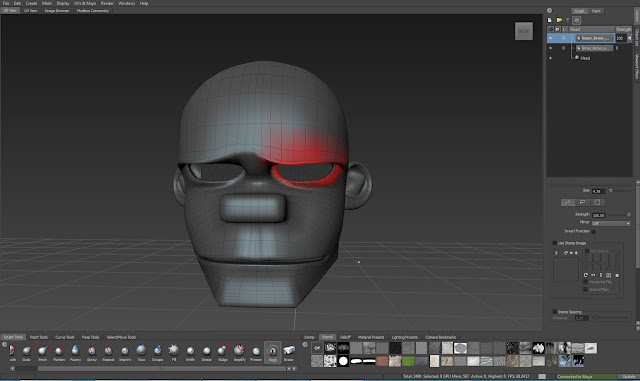
Then, we doing some practice on how to change the facial expression of this character using blend shape. We select the head and send to mudbox as a new scene.
We create a new layer every time we want to change the facial expression and than send it back to maya.
Then, we blend the head that we import from mudbox with the original head.


0 comments